How to Attach a Table Top
At Tablelegs.com, our solid wood wide-board table tops are a work of art on their own. From the unique wood grain patterning and multiple species of wood to choose from, to the Monocoat natural finish oil available with each table, every tabletop tells its own story of how it came to be in your living space.
Each of the boards used in our wood table tops are kiln-dried to minimize movement once assembled to your table base. As wood continues to cure, there will still be movement in the tabletop. Movement can be caused by changes in temperature and humidity, but wood movement is a natural part of working with natural materials. What was once a living organism will continue to grow and shift as it settles into its new life as your favorite piece of furniture. Let us help you ensure the attachment between your tabletop and table base will remain secure, despite how it expands and contracts over time.
1. Selecting Your Tabletop
When you choose a tabletop, you want to make sure you’re choosing a wood with a low moisture content. Many antique pieces are made of mahogany, as it has a beautiful color and extremely low moisture content overall. However, mahogany is not easily accessible and when it is able to be obtained, it is often at a high price.
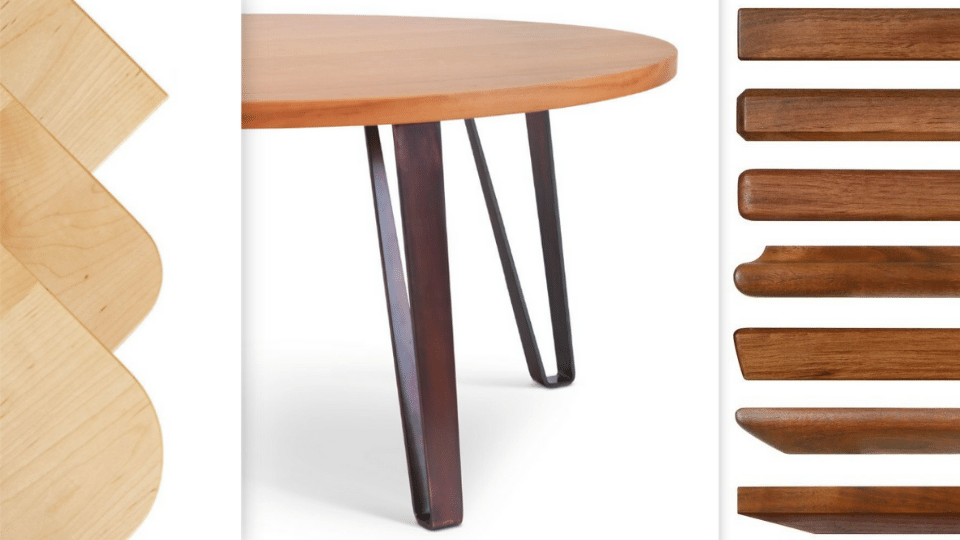
Tablelegs.com takes pride in it’s hand milled, kiln-dried, low-moisture hardwood lumber selection, perfect for the tabletop of your dreams. Choose between cherry, red oak, maple, walnut, white oak - and yes, even mahogany - in varying thicknesses ranging from ¾” - 1 ¾” for tabletops and countertops. With multiple size choices in square, rectangle, round, or custom cut designs, rest assured we’ve got you covered no matter what your space calls for!

2. Attaching Your Tabletop to Your Base
When attaching a tabletop to a base, the materials you utilize come into play. Especially when thinking about allowing for wood movement when your tabletop expands, and doubly so if you are also attaching to a wood base.
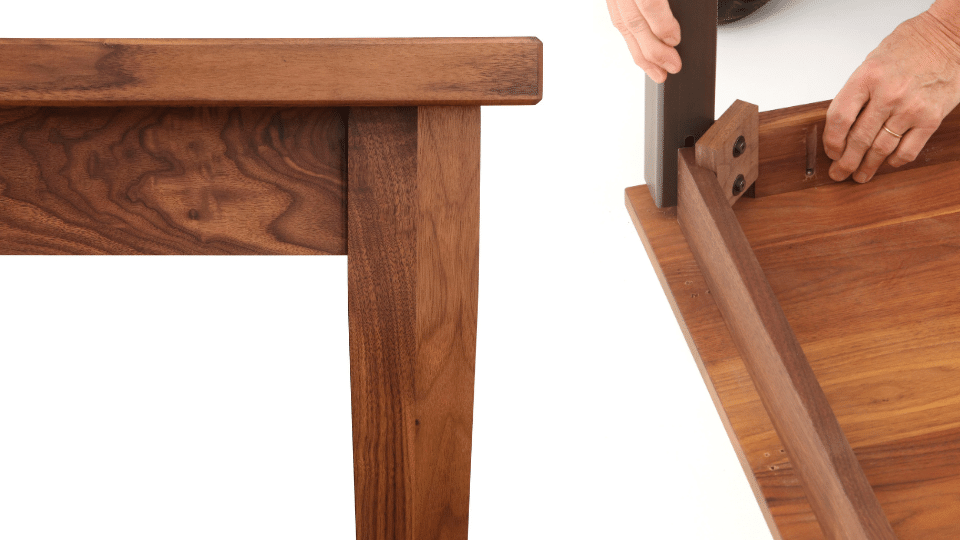
If you are attaching a wooden tabletop to a wooden base, you will need to make sure you have a sturdy table apron. You’ll want to make sure that this wood is also thoroughly dry, as there can be shifts in the apron wood as well. This is especially important when utilizing any of the fastener options below, as they utilize a dual attachment system with a table apron.

3. Fastening Your Tabletop to Your Table Apron
This is a straightforward process, but can go wrong if the screws are too long for the table top. To avoid this, start by making sure all the mounting screws are the same length. Our table aprons come with mounting screws and pre-installed pocket holes. The supplied mounting screws allow you to mount any of our wood table tops. If you are using a top thinner than ¾”, you will need shorter screws. Pilot holes in the underside of the top are not needed unless you are putting the screws in with a screwdriver.
The method we recommend for secure attachment, maximum movement, and most bang for your buck is the Figure 8 fastner. This method is cost effective, quick and easy to install, and holds securely over many years.
- First, flip the finished top upside down on a clean carpeted floor or a blanket on your work bench or table.
- Flip the table base upside down and put it onto the top. We recommend getting someone to help you with this.
- Drive in the first mounting screw. Start carefully and drive slowly. If you are using a power drill, be careful to not over drive the screws. After each additional screw is installed, ensure proper alignment of top and base, and ensure that you haven’t poked through the top. Snug down the screws gently. Put in all the screws, flip your custom wood table over and enjoy your creation.

By following these few steps, you can rest easy that your living space will have a sturdy, solid table for years to come. Movement is natural, and does not have to ruin your beautiful tabletop as it ebbs and flows with the rest of your life!

